Installing an Outboard Motor Jack Plate
Jack plates perform two key functions. One is setback, which distances an outboard from the boat’s transom, allowing the propeller to run in less-turbulent water. Jack plates also move an outboard up and down to optimize performance and enable a boat to venture into shallower water than it might otherwise. Jack plates find the greatest applications on bass boats, bay boats, tunnel hulls and some flats skiffs. There are manual jack plates, but the most versatile models allow for vertical adjustments while underway using electric controls at the helm.
Brands such as Bob’s Machine Shop, CMC, SeaStar Solutions and T-H Marine offer a wide range of models. For this retrofit installation, we chose a SeaStar standard jack plate, which is rated for up to 300 hp and offers 5.8 inches of travel via a hydraulic actuator. Featuring corrosion-resistant powder-coated aluminum construction and stainless-steel hardware, it’s available in setbacks ranging from 4 to 12 inches. We chose one with a setback of 6 inches for our 200 hp outboard on a 21-foot bay boat. With the boat on a trailer, we removed the outboard prior to beginning the installation.
Selecting the Setback
“There is no set rule on setbacks,” says Davor Baros, product manager for SeaStar jack plates. “Boatbuilders test different setbacks to find out which one provides the best performance.” Performance can be affected by flotation at the back of the boat because more setback means moving the center of gravity farther back. Also, the location of trim tabs can affect the need for greater setback to get the prop into cleaner water, Baros reveals. This decision is left to the builders because they know their hulls the best. “For an aftermarket installation, the best thing to do is look at the setbacks similar boats get from builders,” Baros says. “With all that being said, it seems smaller boats favor bigger setbacks, as it provides the engines with cleaner water and more of a fulcrum for hole shot. For bigger boats, they typically go with 4 inches, as more setback just adds weight without speed or hole-shot advantages.”
Skill Level: 3.5 of 5
Finish Time: Approx. 4 to 5 hours
Tools and Supplies

The four 1/2-inch OD outboard manufacturer- supplied mounting bolts must be fitted to the jack plate prior to installation. Insert each through the SeaStar-supplied 1/2-inch washers, and then from the transom side of the outboard mounting plate through the bolt holes. Loosely thread on the mounting nuts to prevent the bolts from falling out until you’re ready for step five. Temporarily connecting the wire harness might also allow you to actuate the jack plate to access the engine mounting holes.
Tip: If the setback is 10 inches or the outboard is over 250 hp, six bolts are required for mounting the engine to the jack plate, and the jack plate to the transom. A transom stiffener for the upper bolts is recommended regardless of setback or horsepower.
Use 1/2-inch OD bolts with locking nuts and washers supplied or approved by the outboard manufacturer. Each bolt must be long enough to pass through the transom and jack-plate mounting surface, and provide enough thread for the washer and locknut. Apply below-the-waterline marine sealant to the mounting holes in the transom and insert the mounting bolts through the transom (from the inside) and through the jack-plate mount. Attach a washer and locknut, and tighten to the recommended torque specs.
Check for Clearance
Starting with the jack plate at its lowest position, verify full steering travel through the entire trim range. At the full down position with steering at center, carefully tilt the engine to verify if interference occurs as the outboard is tilted, paying close attention to the steering cylinder, tie bars, steering hoses, engine rigging and the outboard itself. If interference exists, add a tilt-limiting device or move the motor up to a higher set of mounting holes.
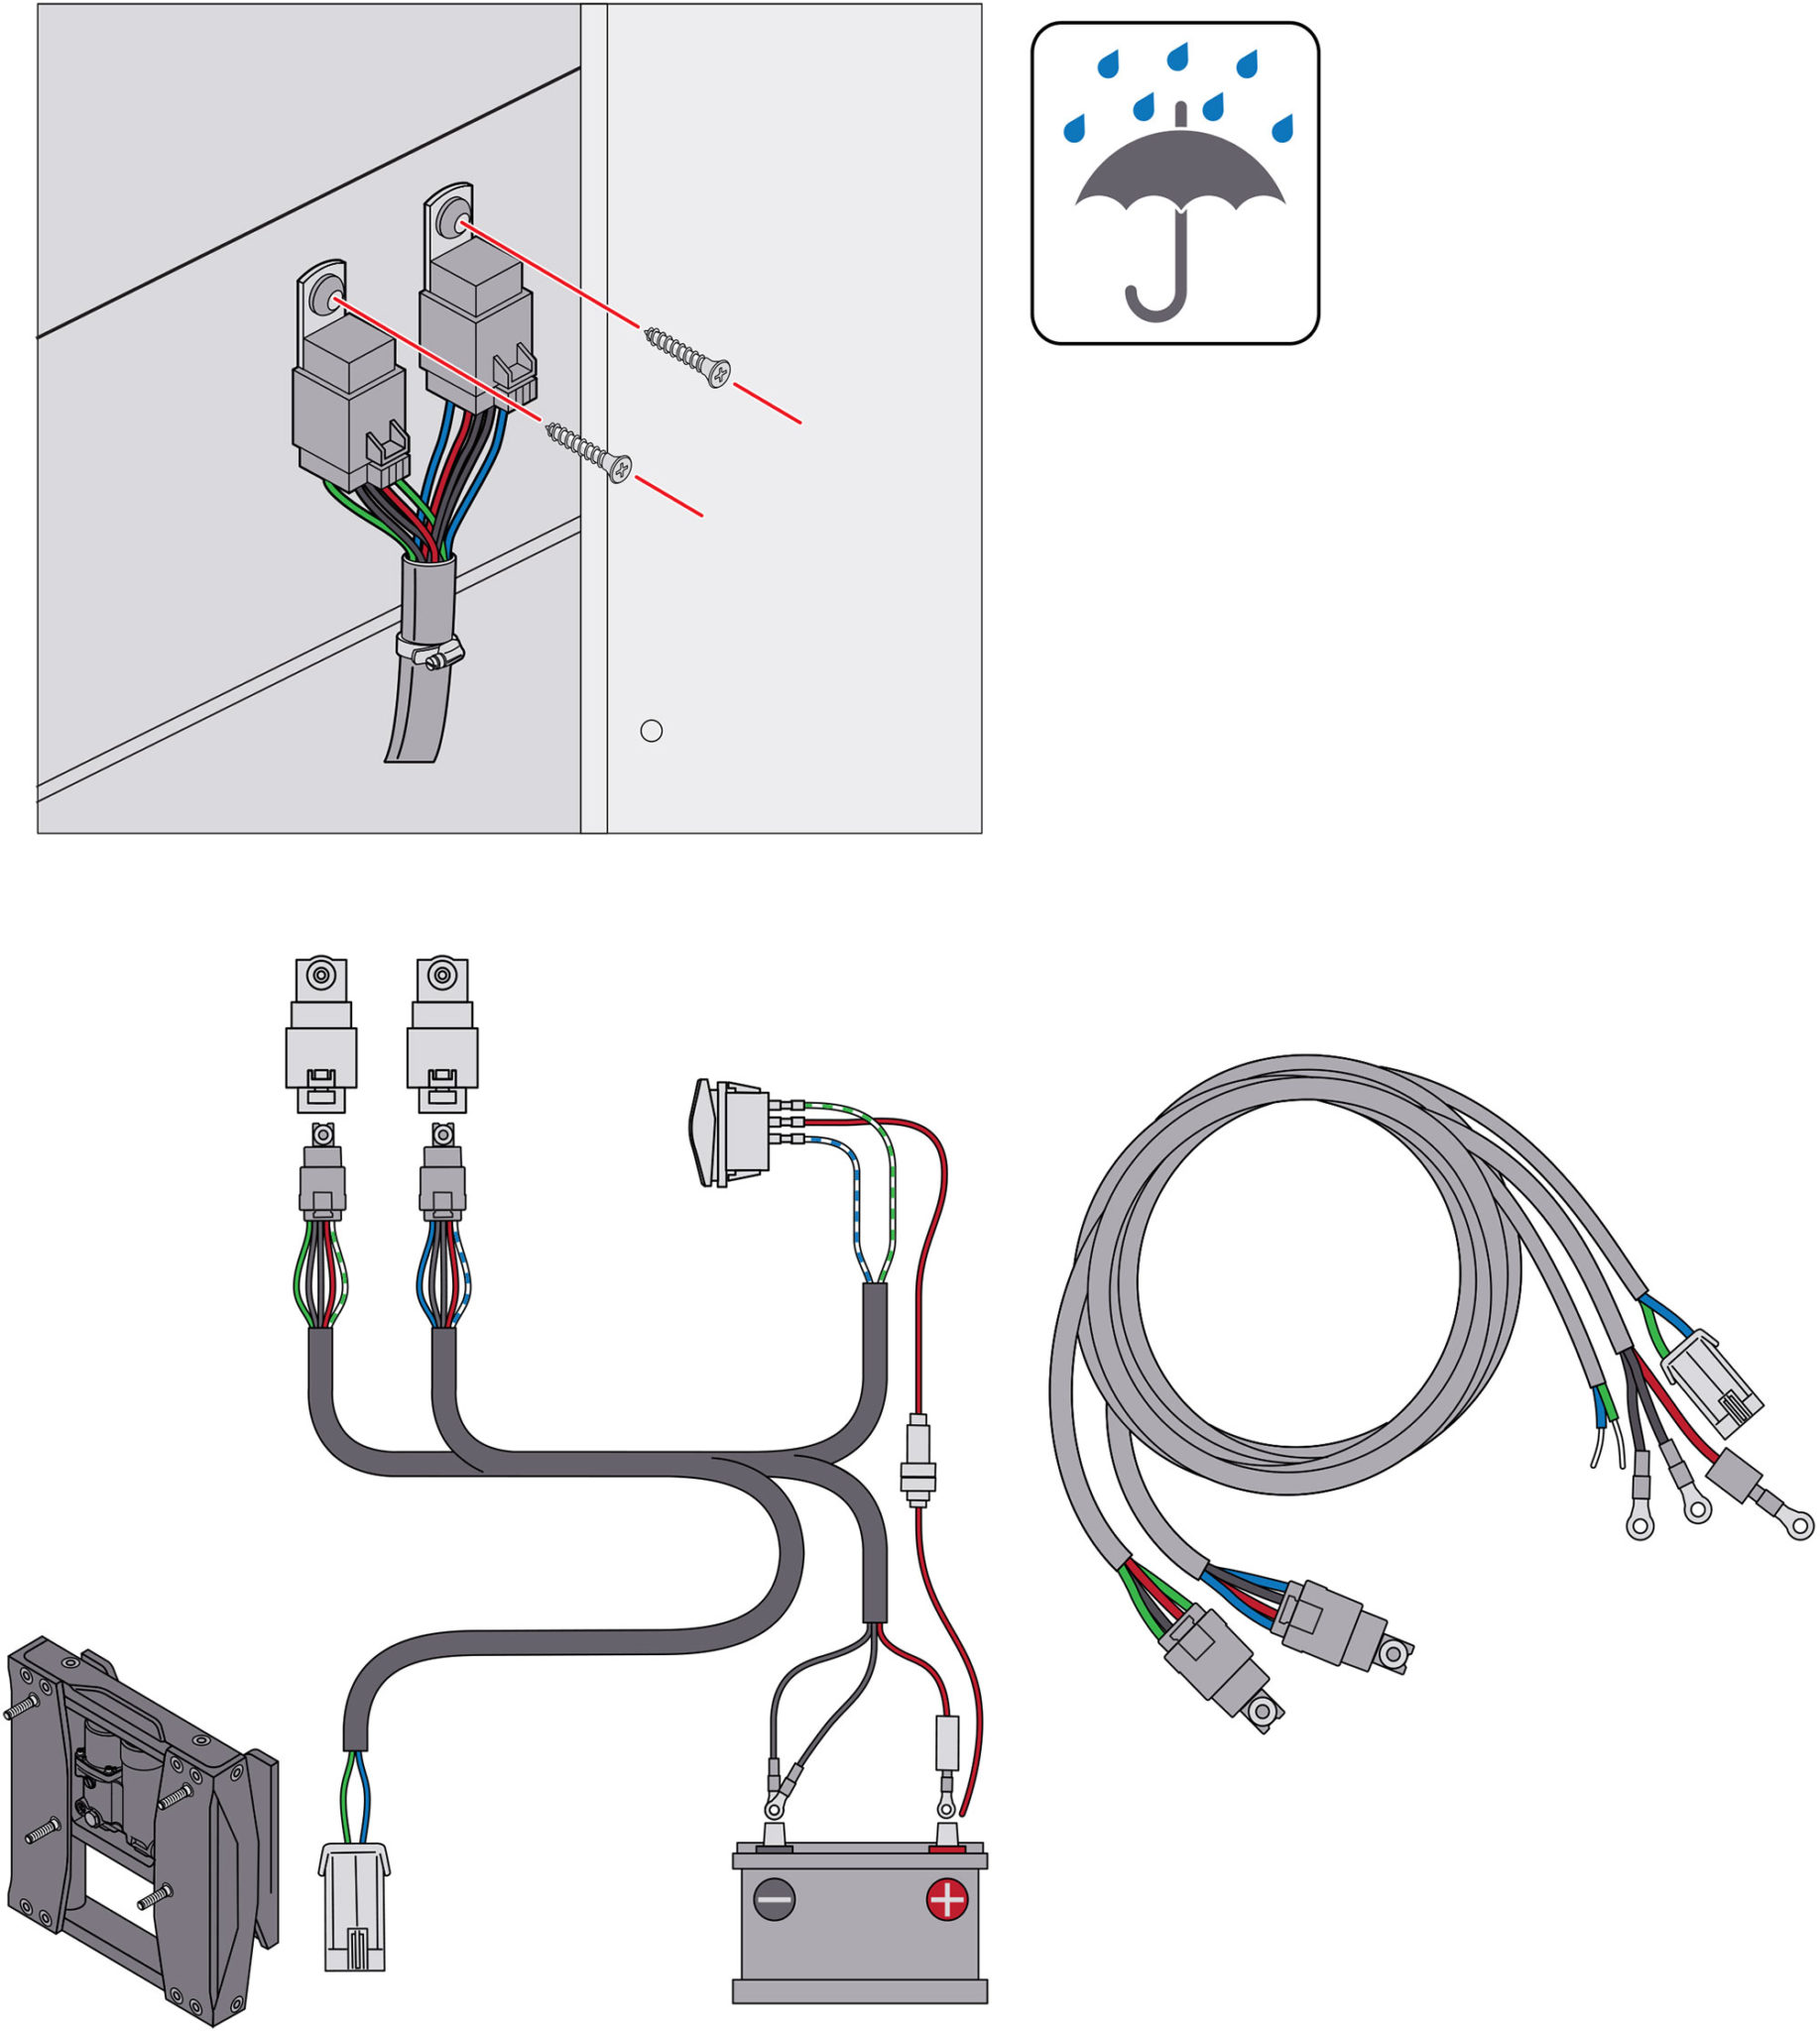
Find a dry, accessible place near the stern of the boat to mount the two relays. Use mounting screws (not supplied) to secure them, using the mounting holes on the up- and down-relay brackets. Plug in the wiring harness to the relays and route the other end of the harness to the starting battery. Attach the ring terminal from the circuit breaker to the 12-volt DC-positive post on the starting battery, and the black ring terminal to the negative post. Plug in the actuator connector to the pigtail from the jack plate.
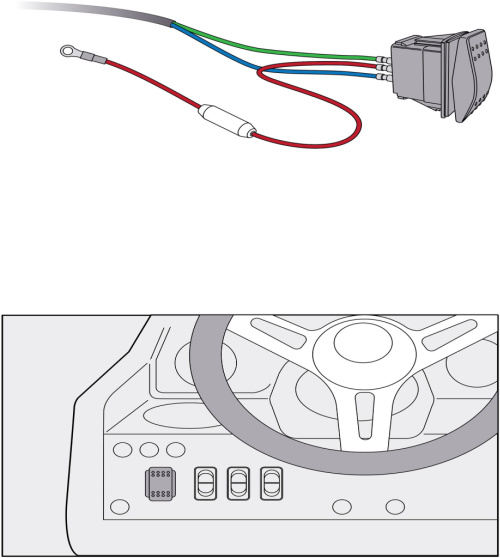
Cut an appropriate rectangular opening in the dash. Route the two switch wires (blue/white and green/white) from the relay harness to the hole. Connect a 10-amp-fused wire to a 12-volt source on the breaker panel and route through the hole. Crimp on female spade connectors to each wire. Connect the 12-volt wire to the center spade on the switch, with the blue/white lead to the bottom spade and green/white to the top spade. Don’t seat the switch into the dash until after the rest of the installation is complete.
Tip: Many jack-plate brands also offer gauges to indicate outboard height. The optional SeaStar SmartStick/gauge kit for example, includes a sensor, wire harness, and 2-inch gauge for the dash.

Use a hoist to lift and maneuver the outboard. Select the mounting hole on the outboard bracket that will best suit your boat and application. Move the engine into position. Feed the outboard bolts on the jack plate into the mounting holes on the engine bracket. Fit each bolt with a washer and locknut, and use a torque wrench to tighten to 90 foot-pounds, or the engine manufacturer’s recommended value. Use the rocker switch to test for clearance, then seat the switch on the dash.
Posted by Art Vandelay