Painting Your Outboard Motor
Today, many outboard motors are available in colors to complement the shade of your boat. Honda, Mercury and Suzuki, for example, all offer their outboards in at least two colors; Evinrude lets you add custom side plates and accents from a wide spectrum of color choices.
There are also companies that paint motors.
The Miami-based Outboard Paint Shop, for instance, will paint an outboard in the 250 to 400 hp range for $1,200.
Yet there is a more economical, DIY option.
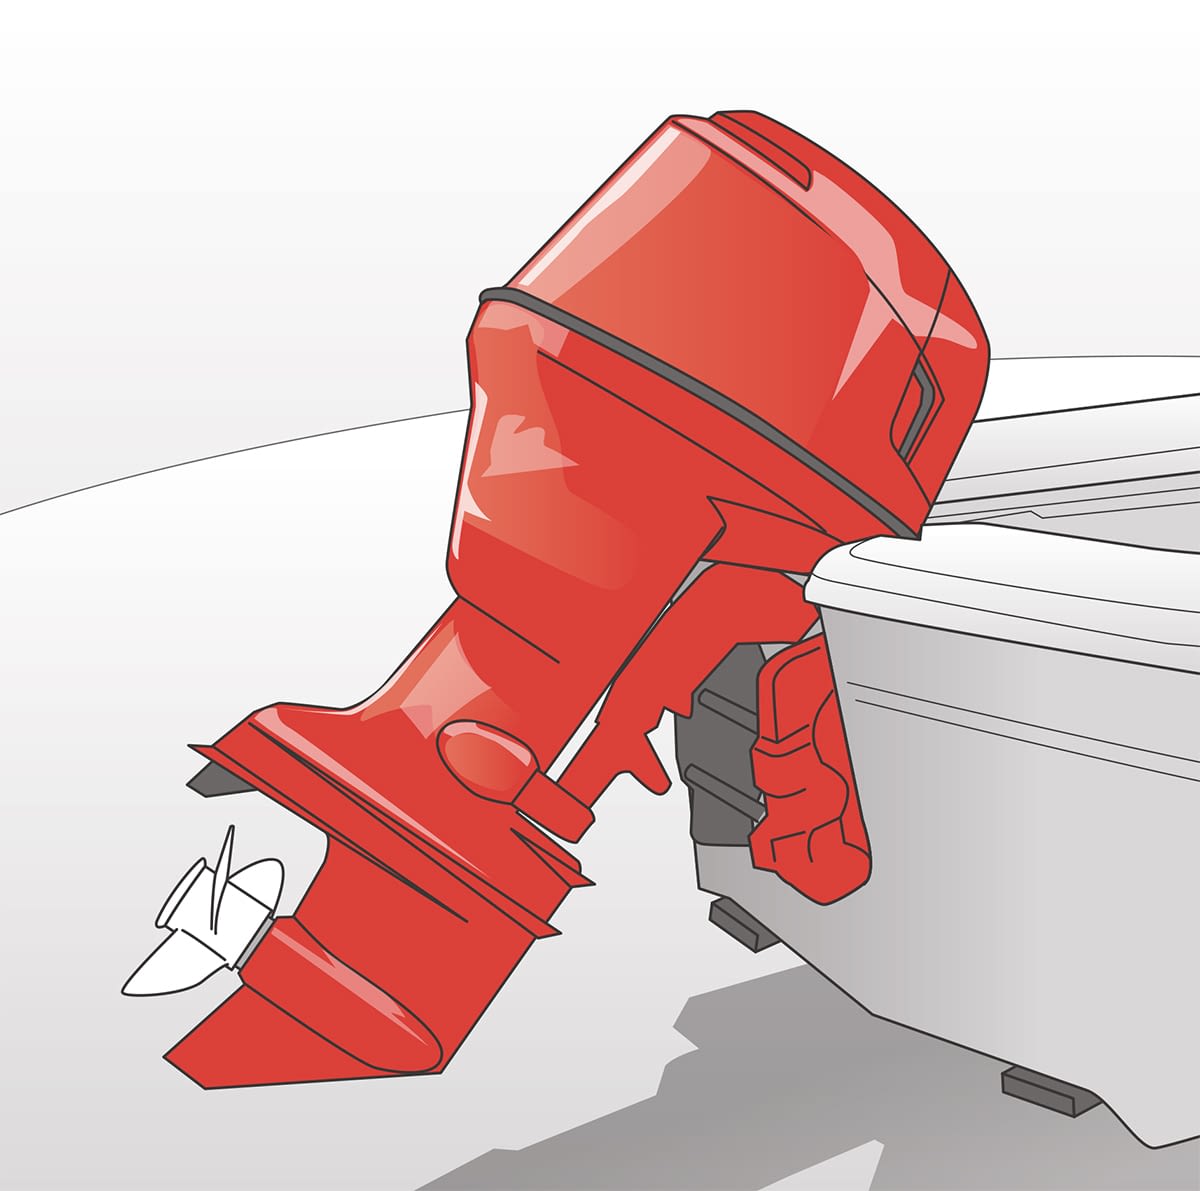
Paint the engine yourself.
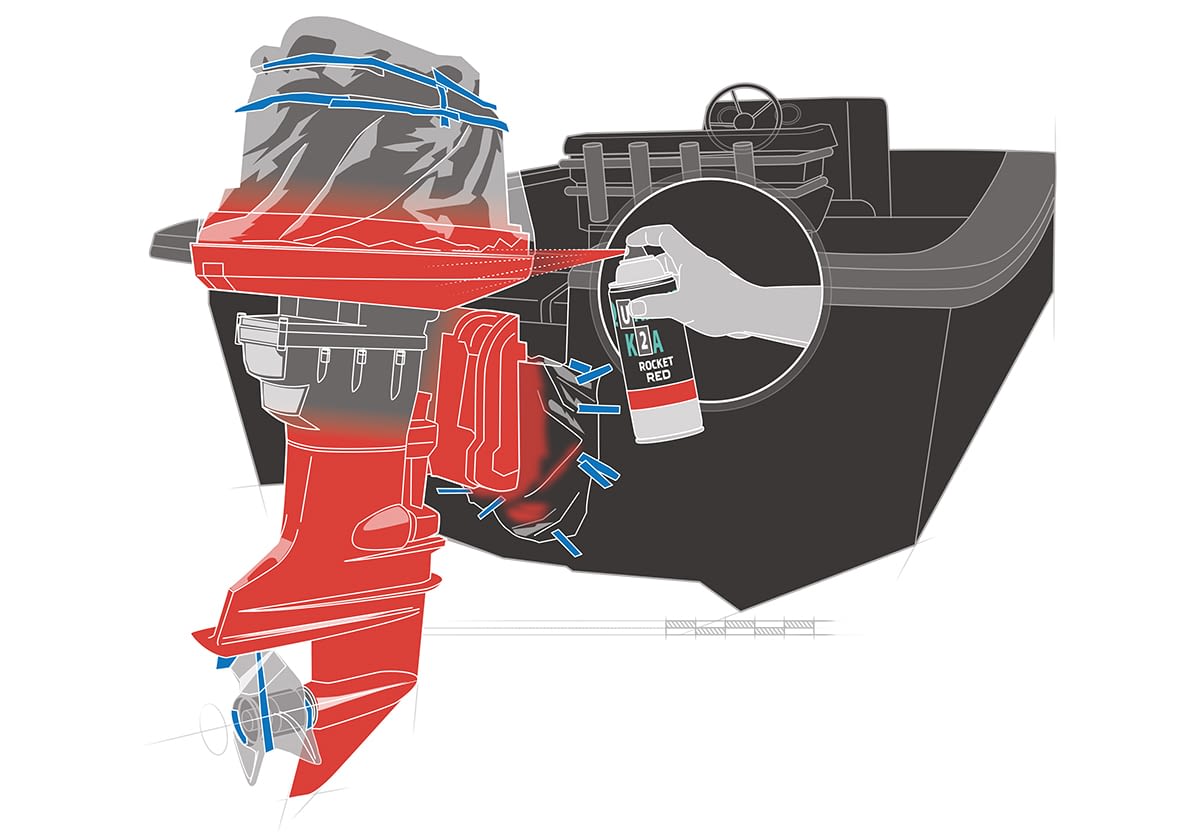
You don’t need to remove the engine from the boat to undertake this project, but the boat needs to be out of the water.
Getting Started
Skill Level: 3/5 Time to Complete: Approx. 12-15 Hours (per outboard)
Tools and Supplies
350- to 400-grit sandpaper
2,500- to 3,000-grit wet sandpaper
Rubber gloves
Ventilator or high quality mask mask
Protective glasses
Aluminum foil
Denatured alcohol
Degreaser
Clean rags
Heat gun
Orbital buffer with wool pad
3M 300 compound
3M 500 compound
Tool kit for disassembly and reassembly
Fresh vinyl decals (Check out outboarddecals)
STEP ONE
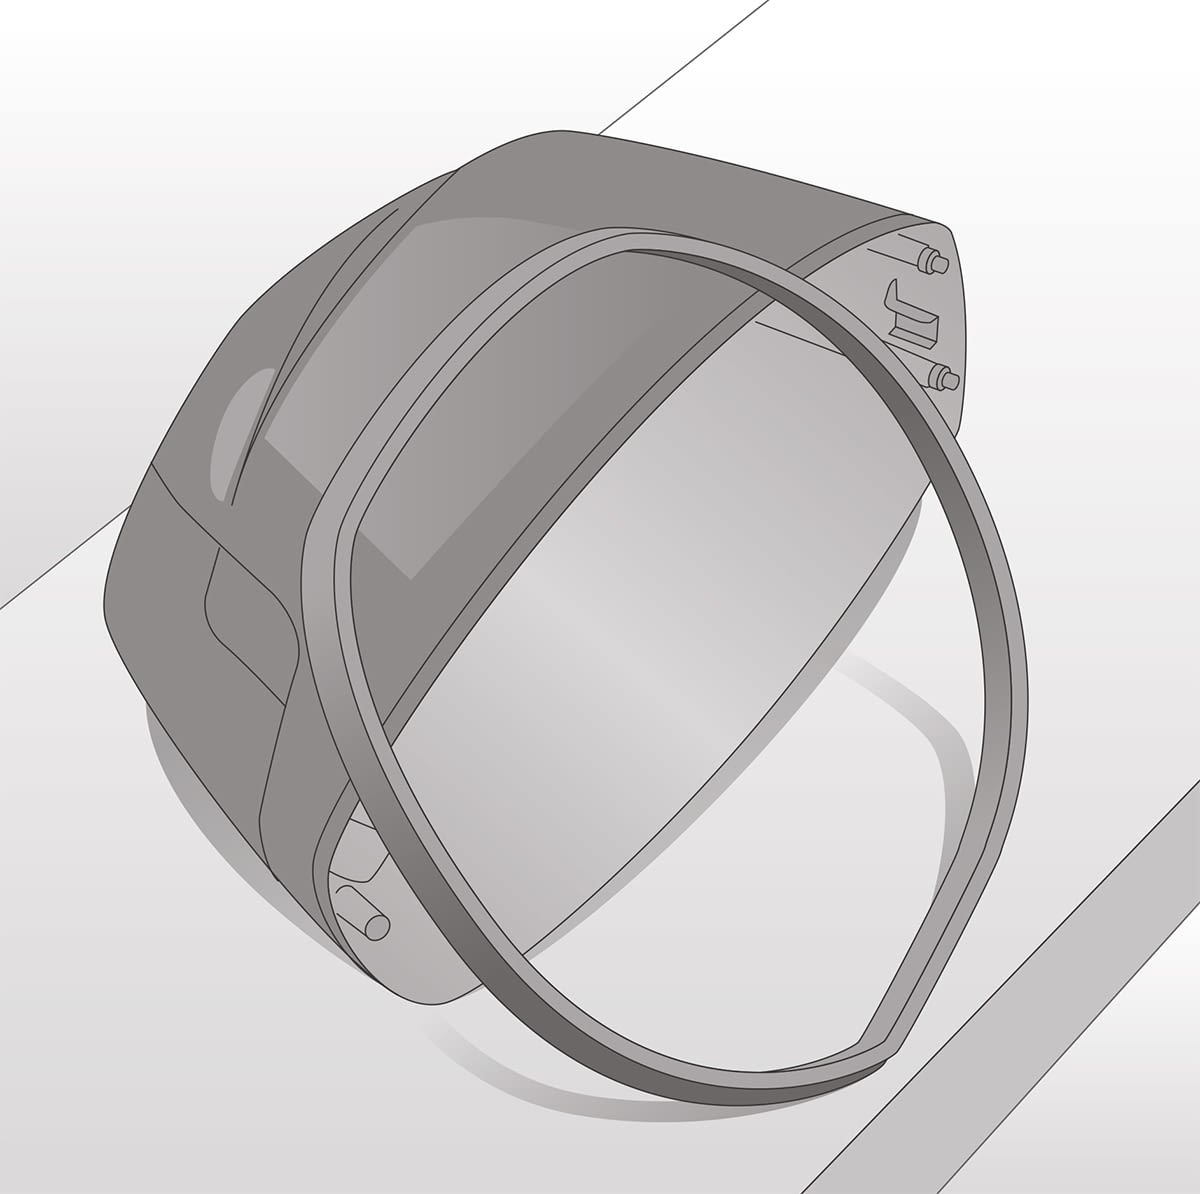
Disassemble and Wash
Remove the cowl, the shroud from the midsection, and any plastic pieces that might interfere with the painting process. Remove the rubber seal around the bottom of the cowl and any other rubber grommets or gaskets that might interfere with painting exterior surfaces. Wash all surfaces to be painted with soap and water; use a degreaser such as StarBrite Ultimate Extreme Clean to remove grease and dirt from around the bracket and under the motor cowling. Carefully peel off any decals. Use a scouring pad and powdered bleach solution to scrub all surfaces clean. Rinse well with clean water.
STEP TWO
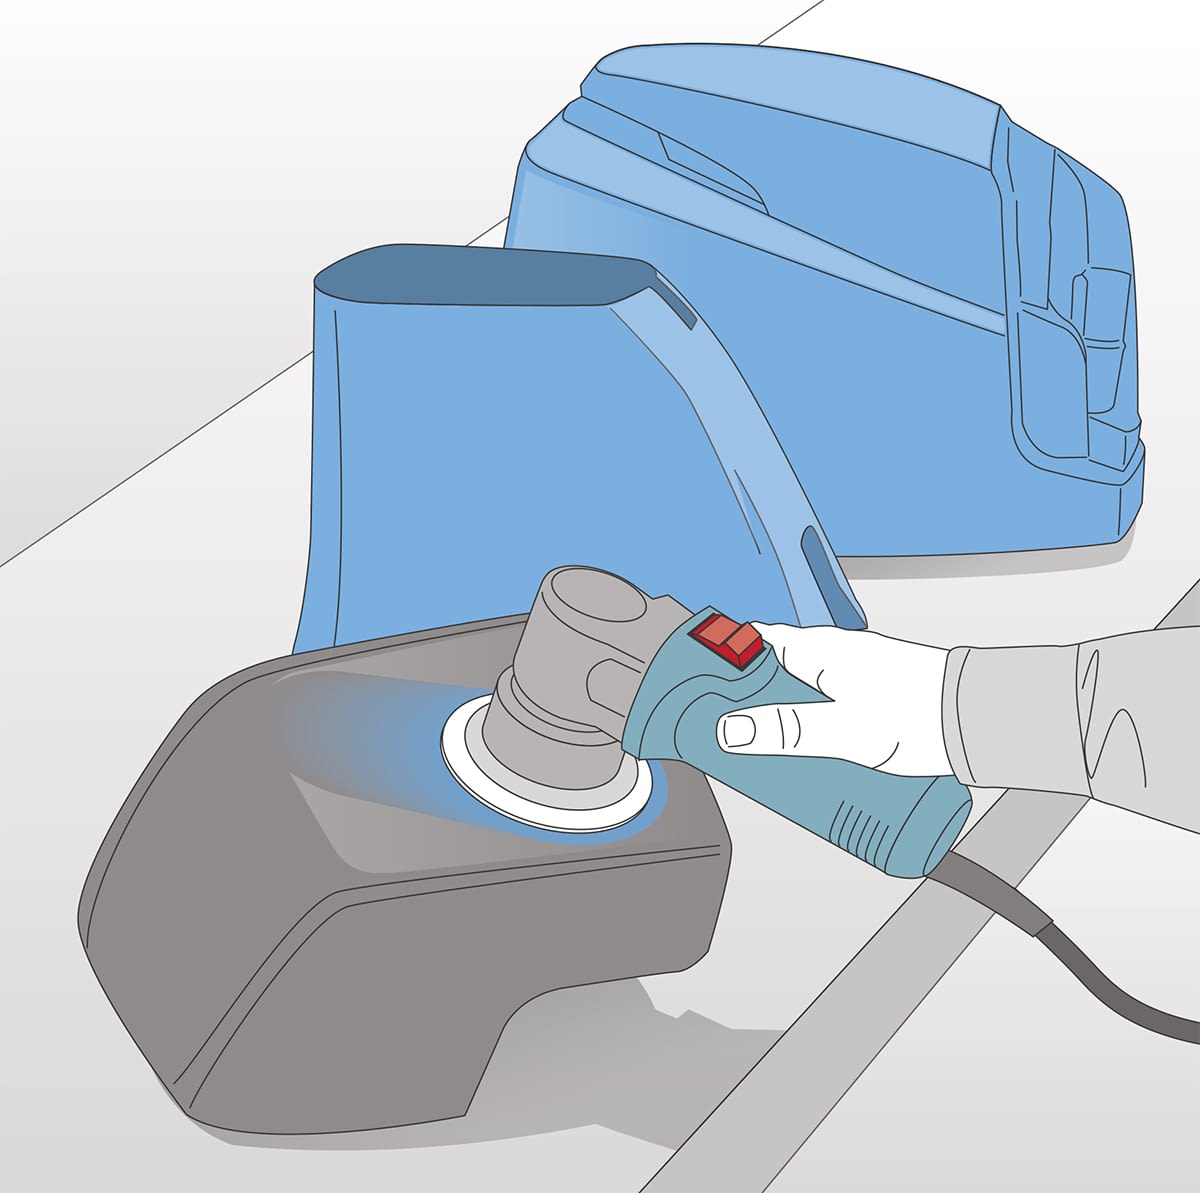
Prep and Mask
Sand all surfaces to be painted with 350- to 400-grit sandpaper. Use a power sander on broad surfaces, but you might need to hand-sand hard-to-reach spots such as around the bracket and lower unit. Wipe all surfaces with surface cleaner and a lint-free rag, then immediately wipe it clean. Use the tape and drape provided in the kit to mask off the top of the motor, propeller and surrounding areas of the stern to avoid overspray on the boat. Tape off all grease fittings, zinc anodes and plastic pieces you were unable to remove. Mask exterior wires and tilt/trim rods with masking tape.
STEP THREE
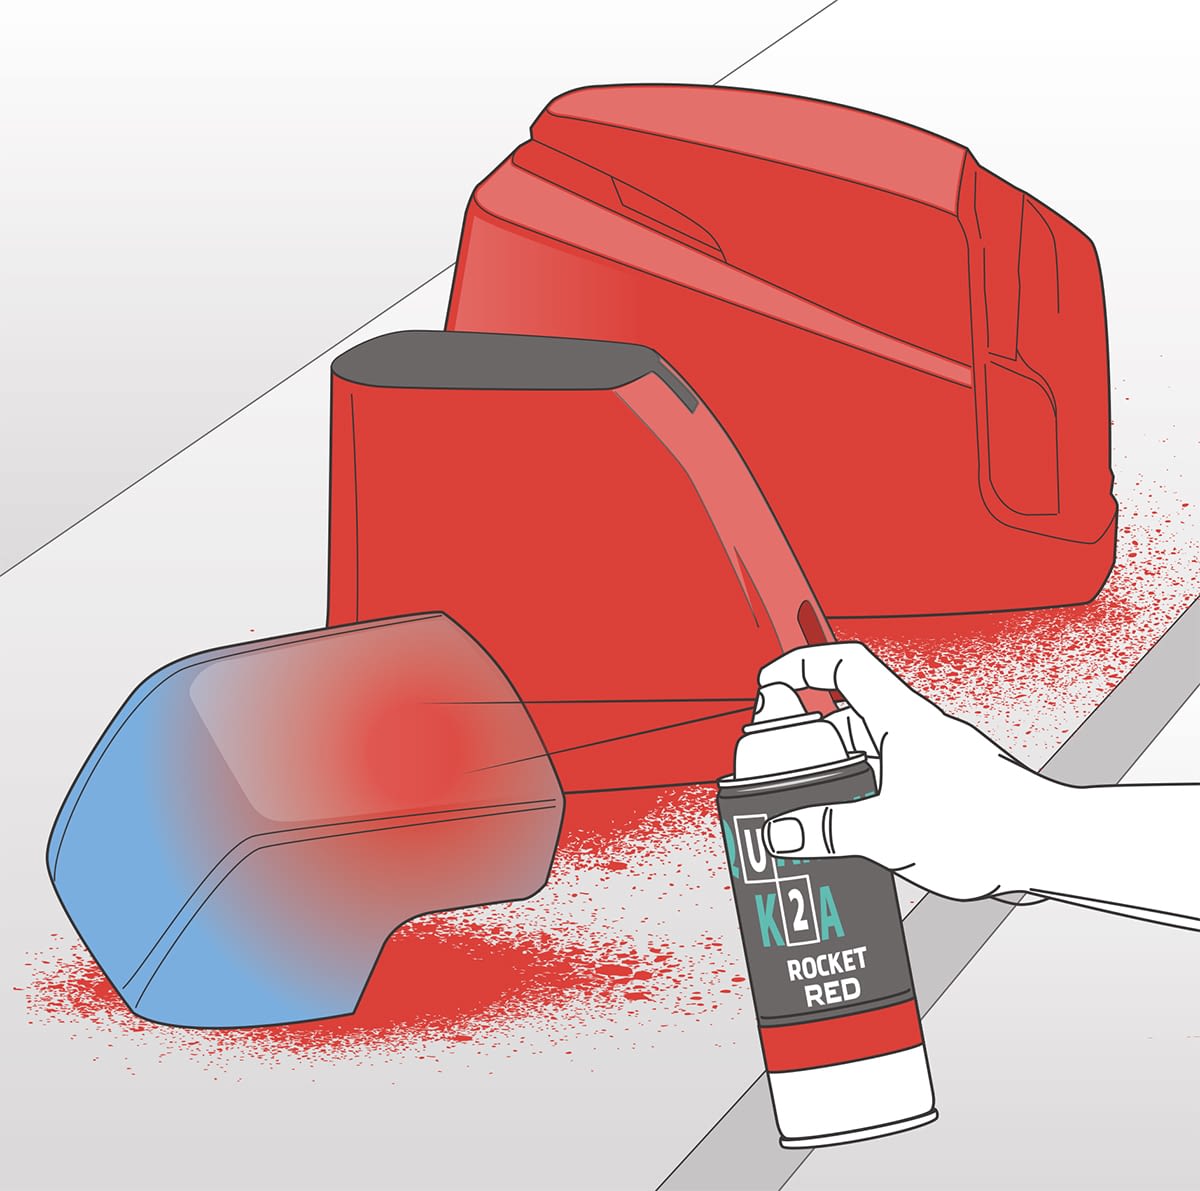
Paint the Parts
Choose a windless day with low humidity and temperatures around 72 degrees. Protect the uncured finish from evening dew by starting early in the day or working in a covered area. Spray all surfaces with a light tack coat; let dry for 45 minutes, then apply a medium coat. After 45 minutes, apply additional coats as needed to create a glossy topcoat on all surfaces.
STEP FOUR
Reassemble and Debug
Allow the final coat to dry for 24 hours. Then remove all masking materials. Carefully reattach and reassemble all parts. If a bug or debris marred the finish while painting, wet-sand the spot with 1,500- to 2,000-grit wet sandpaper until the blemish is eliminated and the desired smoothness is achieved. Wipe the surface with a clean rag, then use 3M Imperial or Farecia Profile 300 compound with an orbital buffer with a wool pad at 1,500 to 2,000 rpm. Use medium pressure and lighten as the compound dries. Wipe with a clean rag, then repeat with 3M Perfection or Farecia Profile 500. Wipe clean and let cure for seven days. Apply fresh vinyl decals, if you wish. (Check out outboarddecals)
Posted by Gordon Liddy